Showing posts with label Template. Show all posts

Sunday, 1 May 2016

What's new on the workbench today?

Fender Telecaster Setup

We have a very special guest in the workshop this weekend, a lovely blonde Fender Baja Telecaster! A friend asked me to take a look as he was getting some issues bending strings on the higher frets so I said I would do a setup for him.


Of course I have to thoroughly test her to see exactly what the problems are! Hope my blue Tele doesn't get jealous!


He asked me to replace the strings so that is first order of the day, there are a lot of retro features on the Baja including classic slotted machine heads so I carefully followed the instructions in my Haynes Telecaster manual to ensure I pre-cut the strings to the correct length.  However before I cut the strings I gave the frets and lacquered finger board a good clean.  There isn't much wear generally, in fact the guitar is quite lovely however a couple of the jumbo frets have little nicks in them and will need redressing at some point.


At this point though that is not a necessity and my friend does not want that done anyway.  I ran a fret rocker over all the frets but the frets all sit happily level with each other with the only exception been the tiniest bit of movement around the 11th fret on the low E side of the neck which should not be problematic as there is no discernible fret buzz.  


After fitting a new set of strings I took a look at the bow in the neck, it is slightly more bowed than fender recommend but I will let the neck settle overnight with the new strings and take another look tomorrow and adjust the truss rod if I feel it is required.  I removed the pickguard to inspect the truss rod adjusting screw which is at the neck pickup end of the neck in true classic style.  I will need to loosen the strings and slacken the neck retaining screws to give me access if I need to adjust the truss rod, this will allow me to tilt the neck back a little for better access.

Router Table

I managed to get some time on my new router table recently and made a couple of Telecaster neck blanks as well as a copy of my template.


Making the template copy out of MDF was far easier than attempting to route the hard wood I had chosen for my neck blanks.  I had to purchase a decent 1/2" bit with a top bearing and a collar to fit the router as it comes with a 1/4" one but I could not find a bit I was happy to use.  On one attempt the bit came lose and ruined the blank I was working on, a lesson learned there!


The router and the table performed great and I look forward to creating a copy of body template and then a couple of Telecaster bodies.  The reason I want to create a template from the template is so if I damage my copy I can easily create another from the original.


I now have 2 blanks ready to turn into necks, I am low on funds though at the moment so the project is on hold for a little while!  I will update here one I get some bits together, maybe after my next pay day!


Wednesday, 3 September 2014

Telecaster III - 21 - Custom Pickguard

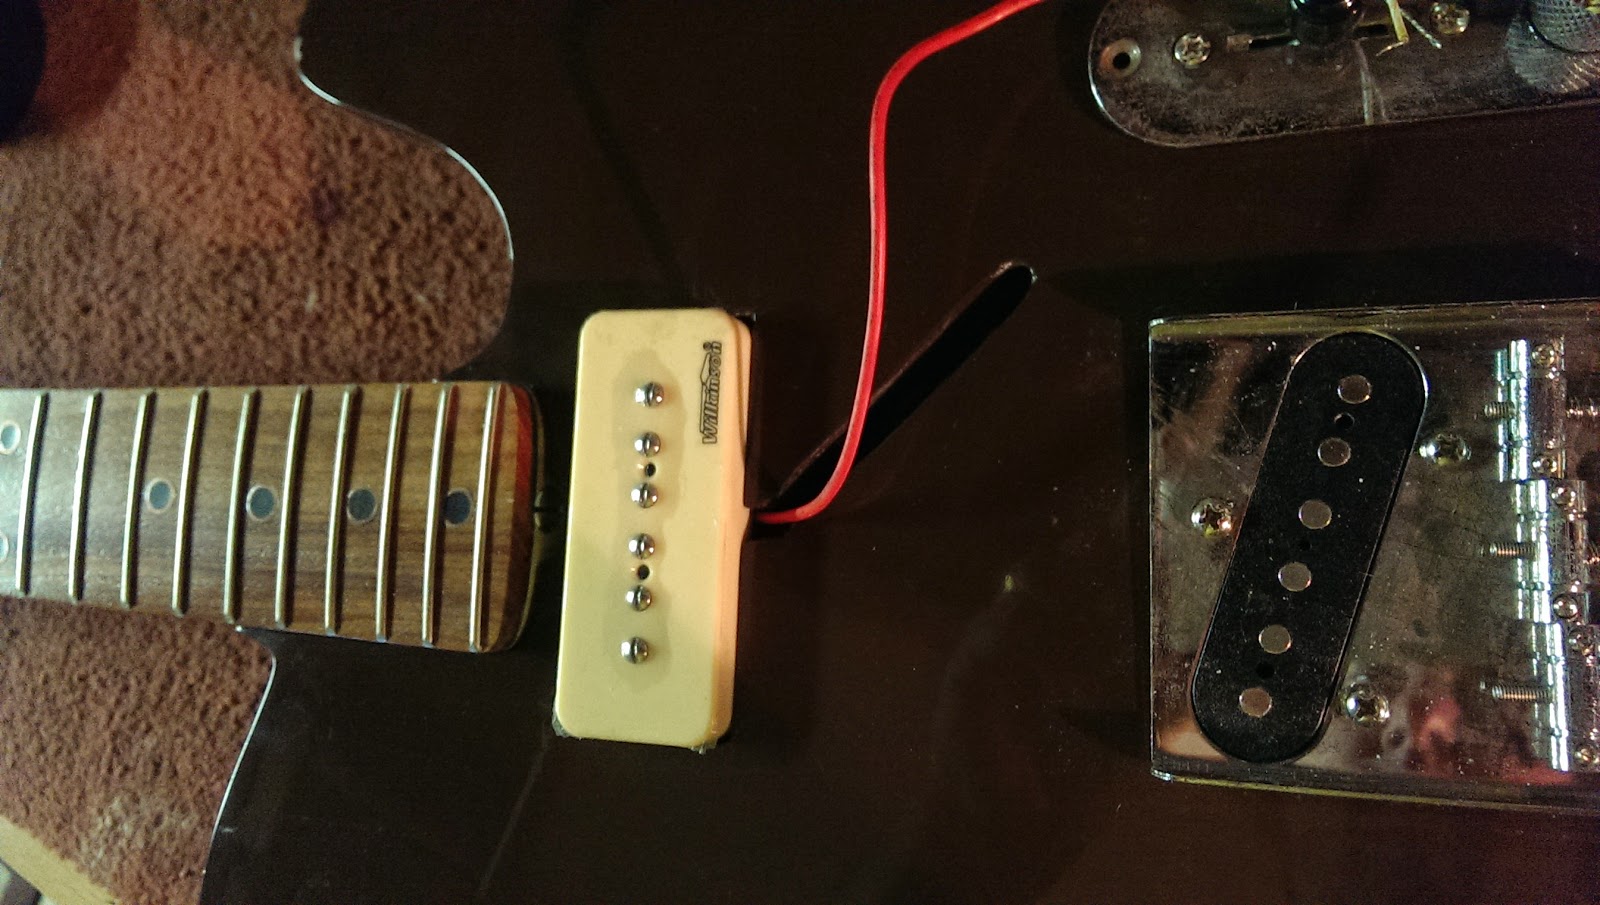
My original concept for this guitar was to feature a rather unusual and original pick guard and a P90 pickup in the neck position.  I built another Telecaster last year with 2 P90s and the sound that impressed me most was what came out of the neck pickup.  With that in mind I made a template but I just don't think the design sits well with the relic body.


So I had a look at a stock Telecaster pickguard, I had a couple to play with and the pearlescent white one looked great, but in my opinion it doesn't scream old.


I also like the idea of a 5 hole pickguard, like fender originally installed on their earliest Telecasters.  So with this in mind I set about creating a bespoke pickguard made from an unused / un-etched copper backed PCB board.  I cut out a basic card template and then used my jigsaw to cut out the basic shape before grinding the edges to the template outline on my drum sander attachment.


Once the basic shape was achieved I marked the neck position carefully on the blank and slowly filed away the material testing the fit frequently.  I don't want large gaps anywhere, so patience and care was required as I slowly worked towards a nice snug fit.


Once the neck slot was finished I was able to position the control panel and mark it ready to cut it's slot and once again I want the fit to be perfect.  Again patience and care was needed to ensure a perfect fit.


Next I cut the P90 pickup hole, I pondered how I was going to achieve a perfect fit knowing the routing for the pickup slot is already tight and there is not much room for adjustment.  So the position of the hole in the pickguard has to be perfect.  My solution was to put 4 pieces of masking tape across the guitar, the edges of the tape ran level with 4 sides the cavity so that when I put the pick guard on top of the guitar again I was able to mark the position of the tape and where the lines intersected marked the exact position of the cavity below.


I carefully used my jigsaw to cut the cavity out leaving plenty of the line to allow me to file the rest of the material away testing the fit as I went along. After quite some time I was happy with the fit and I dropped the pickup into its cavity and fitted the pickguard and everything lined up perfectly.


Finally I filed away an section to accommodate the bridge and drilled and countersunk five holes for the screws.  I went over everything with fine wire wool, this brought back some of the shine and removed the tool marks and layout lines, it will age nicely to a dark colour over the coming weeks. I found some pretty old screws which had nicely rusted and aged in my garage and attached the pickguard.


I like it and I think it goes well with the rest of the body, defiantly not another like it in the world I think!

Monday, 23 June 2014

DLP Lap Steel Guitar - 4 - Some Cavity Work

Having shaped the head angle recently I decided to move on to routing cavities for the pickup and electronics.  I was also wanted to make a bridge and nut out of a piece of 12mm  by 12mm aluminium angle.


I started with the bridge and nut by cutting two lengths of aluminium to size and rounding over the corners before drilling and countersinking 2 holes in each piece. I then polished the two pieces and they are ready for slotting for the strings.


Next I marked and drilled two holes for the volume and tone pots. I plan to keep the control cavity as small as possible.  Its a thick piece of wood to drill through but the drill press made light work of the task.


For the cavity cover itself I made a cover from a piece of copper printed circuit board what hasn't yet been etched.  I cut out the shape by hand then refined the edges on the drum sander attachment on my drill press.  I then drilled two holes and countersunk them before making a router template to create the cavity.

 
I want the cover to sit flush or slightly below the back of the guitar so I made an oversize template and then used the collar attachment on the router to guide the cutting bit.  The template was 2.5mm oversize, the exact same size as the gap between the outside of the collar and the edge of the cutting bit.


The template cutter and oversized template made a for a nice easy, clean route.  What this doesn't demonstrate is just how long it takes to create a simple template like this, however in the long run it should pay off.


The indent for the cover routed beautifully, it sits just below the back of the guitar which is exactly how I wanted it to turn out.  Cherry is a hard wood but lovely to route and machine.  I routed the rest of the cavity using another template and finished it off with a sharp chisel as the router bit would not reach all the way down.  The pots sit perfectly at the bottom of the recess with just enough clearance for the wires.


Next I made another template for the P90 pickup cavity, well I actually already had a P90 template but I spent some time refining the inner edges to ensure the router runs perfectly smoothly over the edges, this time I will be using a router bit with a ball bearing on the shaft which will transmit every imperfection to the cavity edges.


Initially though I drilled as many holes as I could on the drill press to reduce the amount of material the router has to remove.  With the drill bit set  stop at a predetermined depth I could ensure all the holes would be the same.


Then I used double sided tape to secure the template to the top of the guitar and carefully routed away the remaining wood in a couple of passes.  I think the result was perfect, and the pickup slides in beautifully with the minimal amount of clearance around the edge.


The top is finally starting to look like something special now.  My final job this weekend was to drill the six holes for the machine heads.  There is a little chip out at the back but the machine heads should hide that anyway.


Friday, 28 February 2014

DLP Mandolin - 3 - Another Day Another Template

A couple of nights ago I made a template for the body cavities.  It is made of hardboard so not particularly robust but I don't plan on using this as a routing guide.  I left a left proportion of middle of the template solid to accommodate the neck and provide a firm backing for the bridge and tail piece.


I drilled four holes in the template to accommodate my jigsaw blade and proceeded to cut out the two side pieces freehand.  I then sanded the edges smooth.  I now have 3 very nice templates.  I will not cut out the body shape in case I do decide to use this as a routing template at some point (leaves more surface area for the router to ride on).


I drilled 4 holes in the edge of the outline, I can use them to align the template with the outlook drawn on my body blank.


As I mentioned earlier, I did not intend to route these chambers out, instead I used my jigsaw.  The blank is not thick and the pine cuts easily with the jigsaw.  Also these edges will be hidden, plus it's a prototype so I'm not after perfection at this stage.


Never the less, once I had cut the 2 cavities I smoother the edges with 120 and then 400 grit sand paper so the will pass reasonable scrutiny if anyone is interested!


Thinking ahead a little I chiselled out a channel from the lower cavity to a point where I anticipate installing a pickup.  I haven't yet decided what type of pickup to install there yet however my thoughts turn to a 'hotrail' style pickup.  It means there are no pole pieces to line up or no requirement for a specialist  pickup designed for mandolins is required.


Wednesday, 26 February 2014

DLP Mandolin - 2 - Making Templates

I have been continuing work on my Mandolin design and have created two basic templates, one for the neck and another for the body shape.  The neck will have an angled head (scarf joint) and will be set into the body.  It will incorporate a truss rod as well.  


The body will have a top and a bottom glued to a 'skeleton' made of pine.  This will have two large chambers routed out of it to give the instrument a semi acoustic quality although it will primarily be an electric Mandolin.  The blank is joined and glued (made from 4 pieces of wood I had in the garage!) and I will make another template specifically for the chamber routing.


I have made a couple of Ukuleles and used standard guitar fret wire on the neck, but I think I need to use a thinner gauge of fret wire as it is very easy to apply too much pressure when fretting the notes making the instrument sound out of tune.  I haven't though much about a pick guard yet or if I will set the neck at an angle (probably will though) but it depends if I decide to go with the original idea of a floating bridge and tail piece or a hard tail bridge.