Friday 31 May 2013

Telecaster Two - 5 - Routing The Truss Rod Channel

It's time for the scary bit... routing the truss rod channel!  I want the channel to be perfectly straight, central, a tight fit and perfect depth.  My jig consists of the the neck clamped firmly in my Workmate with 2 pieces of MDF clamped securely above with a gap just wide enough for the collar on my small router to ride between.


My first run yielded good results but ran a little short as the clamps restricted the router stopping it from getting as far along the neck as I needed but I will fix that for my second run.

First run, about 1/3 depth but not quite long enough.

Thursday 30 May 2013

Telecaster Two - 4 - Neck Profile

I will need to shape the fingerboard to an appropriate convex profile so I need a sanding block with a corresponding concave profile.  Not having one I improvised a method of creating a profile in a bloc of wood using a bicycle wheel and some sand paper! I taped sandpaper round a portion of the perimeter of the wheel then moved the block back and forth until a profile started to develop.  It seemed to work but took a lot of hard work. I ended up with a nice 14" profile!


I started to sand using the new profiled sanding block but though it best to stop as midnight approached!


I carried on after work today and I'm making some decent progress.  The profile of the fingerboard blank was already trapezium shaped so in theory all I have to do is round the top down the profile, but the wood is so hard it's taking ages and using up all my sandpaper!

I will stop for now as I'm waiting for a truss rod and until once the channel is routed I will be able to glue the fingerboard to the neck blank, then trim the sides level and then finish the profile.

Wednesday 29 May 2013

Telecaster Two - 3 - More Neck Shaping

I find myself sanding and then sanding some more!  There are lots of imperfections to get rid of but some of them are in areas which will be removed during neck profiling.  


I am going to use my old school set square for the fingerboard, the dark wood will make a lovely contrast against the redness of the mahogany.


Everything is going to plan... well, within certain tolerances! the head shape will be reminiscent of the original Fender Telecaster head but certainly not a precision copy!


Tuesday 28 May 2013

Telecaster Two - 2 - Sticking My Neck Out!

After finishing the original 'Scrapcaster' body I bolted on a neck I purchased from China for a little over £22 and the guitar was complete.  The sense of accomplishment was fantastic but in the back of my mind I knew I hadn't built the neck myself.  So this time round I intend to make my own neck.  I had a nice piece of oak (i think!) in the garage (which used to be a shelf!) so I cut a piece to length and marked out a telecaster neck shape. 


The blank has a great tone.  Just knocking on the blank while loosely suspended yields a bell like tone.


Now in the ideal world I would cut the neck and head shape out on a band saw and then sand smooth on a sanding station.  Unfortunately I don't own either so I used my circular saw to cut the majority of the length of the neck and then a coping saw to rough out the head shape.  Then its a combination of sanding blocks, scrapers and planes to get close the the required shape... And lots of elbow grease! 

Sunday 26 May 2013

Stratocaster Project - 4 - Lacquer and Repeat

I have been spraying thin coats of lacquer today on the Stratocaster body.


The more coats I add the less chance I have of sanding through the finish, but the longer it takes to fully dry.

Saturday 25 May 2013

Epiphone Les Paul Special Model - 12 - Polish and Assembly

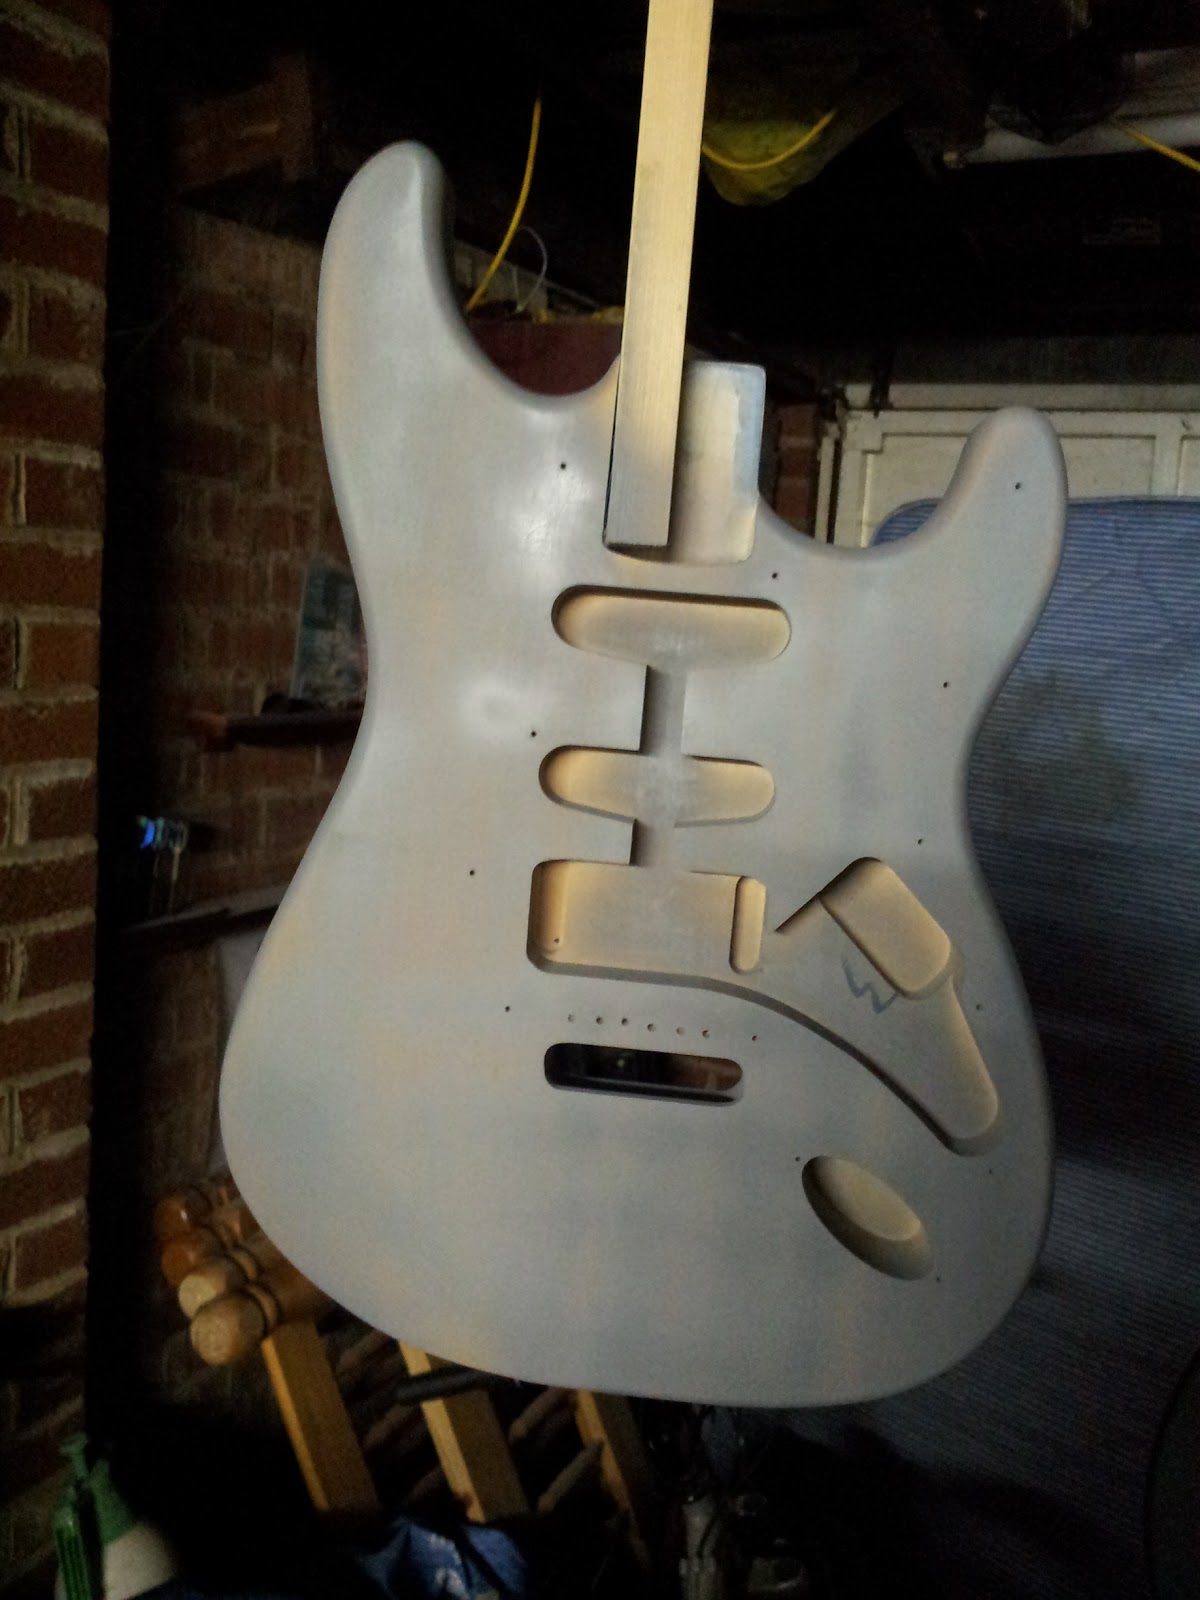
I felt it was finally time to put the Epiphone Special Model back together so the first job of the day is to cut back the finish with wet and dry sandpaper and then polish to a gloss finish.


I started with 400 grit (wet) and worked through 800, 1200 and 1500 grit all wet with a little soap for lubrication.  I let the weight of the block do all the work.


Once I had finished with the wet and dry paper I went over everything with 'Brasso' and then a car polish and buffed to a gloss shine.


You can see the finish starting to shine through.  Its a lot of hard work but very rewarding!  Then it was time to put everything together...


The finish is beautiful and looks great both close up and from a distance.  It's not totally perfect but the imperfections are tiny and I'm probably just been too critical of my work!


I have fitted new pickups, bridge and tail piece, the switch is brand new and the control knobs are new.  The pots are original as it the neck plate and control cavity cover.


I also replaced the jack socket and cover plate.  I also the 'Rhythm and Treble' ring is new.


The machine heads are new but the nut is original. The vinyl graphics smoothed out great once I sanded the lacquer level on the headstock.


The guitar sounds great with the minimal of setting up.  I have learned a lot painting this guitar and cant wait to crack on with the next project.

Thursday 23 May 2013

Epiphone Les Paul Special Model - 11 - Mock Up

I was originally going to refit the original Epiphone pickups but then decided to fit something slightly different instead.  I found some nice looking pickups on eBay and they arrived today.  


I decided then to mock up the new parts on the body... Wow, I can't wait to put the guitar back together again.  It should be ready to sand and buff very soon.

Telecaster Project - 22 - More Sander Sealer

I have left last night's coat of sander sealer dry overnight and then sanded it with 400 grit sandpaper and applied another coat, left it to dry for an hour then sanded once more and then did one more coat.


Two coats should be enough but I am hoping adding an extra coat will go some way towards filling some of the grain on the front and back (as well as sealing and protecting the pine end grain).

Stratocaster Project - 3 - Some Colour

Time to put some finish on the Stratocaster body.  I have chosen a bright red colour and spray it (from an aerosol can) in thin coats with about 15 minutes drying time between each coat.


The coats of paint are starting to build up and hide the undercoat.  After about 5 thin coats I will leave it the dry overnight and then finish the colour coats tomorrow.


Wednesday 22 May 2013

Telecaster Project - 21 - Telecaster Dis-Assembled

I have taken the Telecaster to pieces so I can finish the body.  I then sanded the front back and sides down to 600 grit sand paper.  I can't sand too much on the front and back as the oak veneer is not that thick. 


Everything goes a little darker when wet! The product recommends 30 minutes drying time before sanding and putting another coat on.  However it's late into the evening here so I'm going to leave it overnight to dry completely.


Telecaster Two - 1 - The Next Generation

The next project is under way, I will build another Fender Telecaster style body refining the techniques I learned making my first Tele body.


This time I am going to try to keep the back made of pine and just put an MDF front on the body.  I took a lot of care glueing up the blank ensuring the edges were sanded smooth and square, then hopefully I wont have to plane as much off the top and bottom.  The MDF I have for the front used to be off my sons cot... so this guitar will be called 'Luke'.


The blank was made of 4 pieces of pine cut to 17" in length and glued together and left overnight to set hard.


Next step will be to draw round the the template and rough out the shape with the jigsaw (wish I had a band saw!)

Saturday 18 May 2013

Telecaster Project - 20 - Telecaster Assembled

At last! I bolted on the neck, attached all the hardware, secured the machine heads and a installed strings.


I have also connected and tested the electronics and it sounds great!  I have slotted the nut and will continue to refine the action and intonation over the next couple of days before taking everything off and applying a finish to the body.

Friday 17 May 2013

Telecaster Project - 19 - It's Starting To Come Together.

After a few days away from the garage with a horrible cold I was keen to get back to the Telecaster body and press on routing the cavities for the pickups and electronics.


I started with the neck pickup and the wire channel, I had previously set the position for the pick guard and marked the 8 holes out, I then drilled the 8 holes secured the pick guard while marking the position of the neck pickup.


Next I laid out the position of the bridge and routed the pickup cavity.  I then made a template of the control plate and laid it out, then cut out the control cavity.

 With the bridge in its final position I drilled its 3 mounting holes and also holes for the strings.  I didn't go all the way through the body as I will drill the furrule holes and then meet up somewhere in the middle.


Next I drilled the jack socket hole, I did this free hand as there was not too much wood to get through as the body is mostly hollow.


A perfect fit! Lets hope everything else fits as well.


Just the 4 neck bolt / screw holes to drill and also I need to secure the neck pickup inside its cavity.


Wow, getting close now! Can't wait to string it up and plug it in... but there is still a lot to do, more soon.

Tuesday 14 May 2013

Telecaster Project - 18 - Solid Body Telecaster to Thinline

I finally committed to an f-hole design for my Telecaster body.  I wanted to use my Jigsaw to cut the hole but it hadn't occurred to me that the blade is designed to cut 65mm into wood meaning it would have tried to cut through the back as well!  I tried some different ways of raising the Jigsaw but in the end I drilled holes around the perimeter and then chiselled out the rest.


After some considerable filing and sanding I finally had something that looks cool, stylish and original (in my opinion!).  People who know me will also know that I love Star Trek... could there be some subconscious design inspiration?


I am going to have to think of a better way of cutting the control cavity I think, although I have ordered a new, smaller router bit which should arrive in the next couple of days.

I have decided that I will fill the grain with sanding sealer and then finish with lacquer and ultimately polish to a high gloss finish, although you never know...

Telecaster Project - 17 - Bridge Work

The bridge I have for this project is not a classic Fender Telecaster 'Ash Tray' bridge, but a simple Chinese clone.  That's not an issue, It is a prototype and my first build and I'm not trying to build my dream guitar.

However one thing I noticed about the bridge is that there are no string holes in the base, the strings just push through the backplate rather than through the body.  I want the strings to go through so I marked out six points on the base and centre punched them, then I drilled them through using my drill stand and then filled the holes smooth (I don't want to encourage the strings to break on sharp edges I have introduced).


Six holes drilled and filed out so I have both options now, either through the bridge or through the body!


I am still trying to decide what cut out shape to use.  The idea above is a sort of reverse Rickenbacker f-hole.

Sunday 12 May 2013

Telecaster Project - 16 - The Neck Pocket

Time to route the neck pocket.  I laid out the neck in its place and measured down to where the bridge will be.  I need the bridge to be centred at 25 1/2" but when I positioned the bridge according to my original template it was too far back on the body.  Never mind, I will set the neck in a 3" long neck pocket and then position the bridge accordingly.


I now know why the neck was so cheap... There is a taper in the end of the neck meaning that If I just routed a standard Telecaster neck pocket I would have had some unsightly gaps and a poor fit.


So I traced around the neck and centred the template on the body and secured it in position using double sided tape.

 
The template worked out fine but I did have a few issues, firstly my router bit was too long so I had to use the collar attachment on the router which made the pocket slightly smaller than required so I finished it off with a sharp chisel.


Looking good but the neck pocket is a touch too deep, but some modifications to the pick guard will take care of that.  I just hope the action and playability of the instrument isn't affected too much.


As you can see on the picture above, the bridge will have to be positioned about 1/2" closer to the neck  than was suggested in the original template.


The pick guard has been rounded to fit round the neck, had a deeper pocket cut to accommodate the bridge, and finally I will need to enlarge the semi-circular control cut out.

Friday 10 May 2013

Telecaster Project - 15 - Smooth Round The Edge

I have been frantically sanding and smoothing the edge of the Telecaster body.  I can't decide if I should bind around the edges or not however the more I sand the more I think it would be a mistake.  The MDF is laminated on both sides (Oak on the top and a red wood on the back) so there is a thin reddish line where it meets the pine which is really attractive.


The grain looks fantastic at both ends of the body.


I have to do this by hand as I don't have access to a drum sander or even a sanding attachment for my drill (next on my shopping list!)


The next chance I get I will mark up and route the neck pocket.  I couldn't resist laying the neck on the body... It's the first time this pair have ever met!  The neck is nothing special, an import from China.

Stratocaster Project - 2 - Time to Prime

After letting the grain filler dry all night I rubbed the excess off with 600 grit wet and dry sand paper to give the primer a key to adhere to.


And then its on with the first thine coat of primer.  I still haven't decided what colour I'm going to finish this guitar yet but either way the primer has to go on first.


I'm very impressed with the finish on the Stratocaster body, it is so smooth and I tried the neck in position earlier and it was a nice tight fit.