Thursday 30 January 2014

DLP Les Paul - 7 - Marking Up For The Machine Heads

Last night I wanted to mark the positions accurately on head for the machine heads ready for drilling.  I drew a plan a couple of months ago so it's just a simple case of transferring the dimensions to the face of the head.


I did not want to damage the head so I wrapped it in very thin tracing paper.  This made it easy to mark out the positions with out leaving any pencil marks on the head.  I was careful not to press too hard to prevent any lines showing on the veneer once I removed the paper.


Once everything was laid out and double checked (measure twice cut once!!!) I used a compass to pierce the tracing paper and mark the veneer.  I then removed the tracing paper and highlighted the marks making them easier to see.


At some point I will make a template but for now this method worked just fine.  I will wait for the machine heads to arrive just to double check everything and then drill the holes.

Tuesday 28 January 2014

DLP Les Paul - 6 - Pickup Cavities

Over the weekend I marked up the positions of the pickups on the Les Paul body and started off by drilling out the majority of the material using a Forstner bit.  I used a piece of black tape on the shank of the bit to use as a depth guide and used my hand drill.


Once I had removed the majority of the material I used a sharp chisel to remove the rest.  It seemed quicker and tidier that setting up the router.  I will make a routing template for a humbucker cavity at some point but for now this method will do fine.


I gave the back of the body a coat of primer as well, it helps to pick out the imperfections easier so i know where any filler is needed.  As you can see below a fair bit was required and I'm sure that's not the end of it either.


I have also drilled a pilot hole ready for the toggle switch, I need a cover and a switch first so I know the exact dimensions to route out for the switch cavity.

Monday 20 January 2014

DLP Les Paul - 5 - Neck Pocket and Control Cavity

Last week I made a template to use to route the neck pocket.  I carefully drew an outline around the neck on a piece of MDF and transferred the centre line onto the template.  It was east enough then to line everything up and route the pocket.


There is a 3 degree slop from the centre of the body to the neck end and I could have routed the pocket to the same angle but instead I sanded the neck itself to match the angle.


It took several passes to get the correct depth, taking about 4mm each pass to ensure no tear out.  A little fine tuning of the pocket gives a nice even contact all round, not too tight as there will be a couple of layers of primer and lacquer in the joint eventually.  This will be a bolt on neck not a glued in neck.


Once the neck pocket was complete I turned my attention to the control cavity.  I created another template and routed out to a depth of about 20mm leaving a lip around the edge of about 2mm to sink the cover flush.


Once again I took several passes to complete the route, the template is attached with double sided tape.


I then used a forstner bit to drill holes to accommodate the pots at the correct depth and angle relative to the front of the body.  I chiseled a recess next to each hole to match the shape of the pots.  This will also stop them turning!


Finally I made a cover out of a piece of unused printed circuit board.  I will paint this to match the body and it comes pre-shielded!


Next on the list is the pickup cavities and the switch hole and cover.  I also have to drill the holes for the bridge and tailpiece and the hole for the lead as well as all the holes to join the wires so still plenty to be getting on with!

Wednesday 15 January 2014

DLP Les Paul - 4 - Continuing Work On The Neck


I have now added side fret markers to the DLP Les Paul neck, they are mode from the same epoxy as the markers on the top of the fret board.  I was very careful drilling the holes as I wanted them to come out crisp and sharp like the ones on top.


Next I made my first attempt at creating an inlay.  I took my logo and transferred an outline onto a thin piece of wood and used my Dremel to route away the materiel and then used the same black epoxy putty as a filler.  Once it had set for 24 hours I sanded everything smooth, applied a thin coat of wood stain and then a couple of coats of sander sealer to fill the pores.


I glued the piece to the head and then sanded the overhand smooth.  This makes the head about 16.5mm thick which is a little more than the 15mm standard so i will have to source some machine heads which will work with the thicker head.  I need to file out the slot for the nut and create a recess to allow access to the truss rod nut.

Thursday 9 January 2014

DLP Les Paul - 3 - Installing The Fret Markers

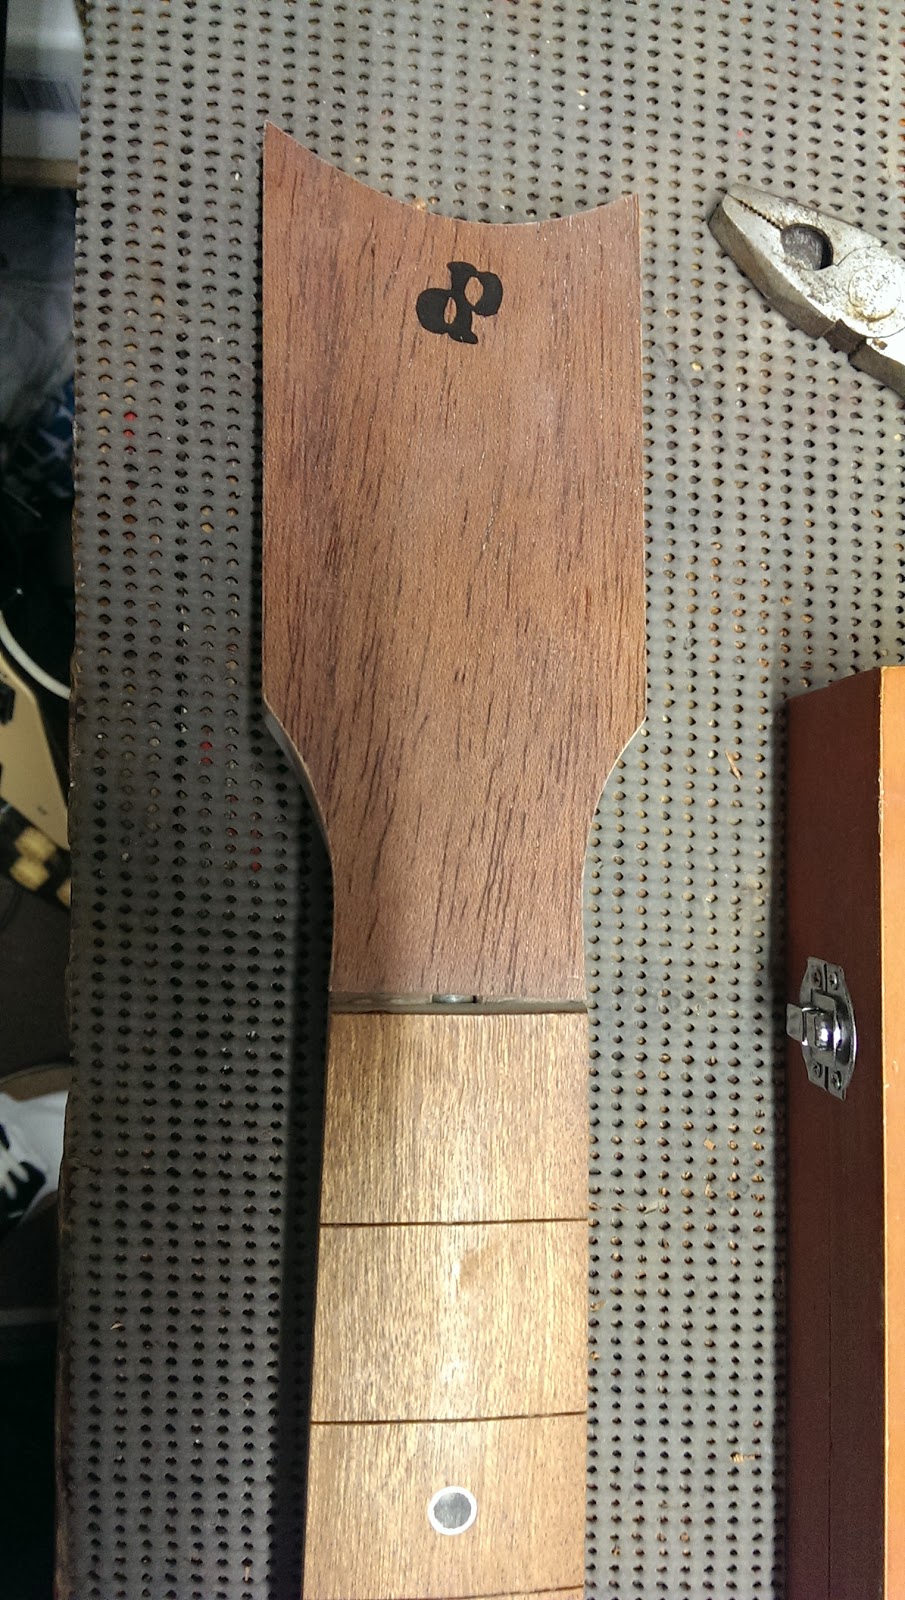
Over the past couple of days I have continued work on the Les Paul neck concentrating on installing the two way truss rod and installing the fret markers.  As with the Telecaster neck I am also working on at the moment, I am going to fit black epoxy dots with a brass ring round them.  It both looks great and gives a nice clean edge to the dots.


I glued the mahogany fret board to the neck and left it to set overnight.  As usual I used most of my clamps in an effort to ensure a nice snug fit all round.


Once the glue had set I removed the clamps and trimmed the overhang with my plane leaving the fret board flush with the neck.  Next I marked out the positions of the fret markers and carefully drilled the holes paying particular attention to the edges of the hole to ensure there is no chipping leaving an unsightly and uneven circle.


Next I cut small sections from a hollow brass rod (I inserted a dowel into the rod whilst cutting it to ensure it did not deform).  I then tapped these into the holes adding a little superglue to the bottom of each hole for adherence.


Once the brass rods were glued in place and set I carefully filed them down a little, just enough to be about 2mm proud of the fret board.  I cleaned the inside of each of the rings removing any burrs and metal fragments.  I then mixed some black epoxy putty and pressed it into each of the brass rings.


Leaving this overnight to set I masked the fingerboard the next day so I would not damage it whilst filing the majority of the excess brass and epoxy away.  I used a file to remove the majority of the excess material.


Finally I set up my trusty neck profile jig and continued removing the rest of the excess with the same profile block I used to shape the fingerboard.  I started with 60 grit abrasive sand paper, then 80 grit and so on gradually using finer grades until everything was flush.


Once this was finished and everything was smooth and flush I started adding coats of sander sealer to the fingerboard.  Mahogany is not commonly used on the fret board because it is porous and soft so I need to apply some sort of finish before installing the frets.  There is also some question as to how well mahogany holds the frets but I will use superglue to ensure the frets do not pull out.


After some discussion with fellow luthiers I decided to finish the fret board with Tru-Oil rather than lacquer as I had originally intended.  I have been adding coats and then sanding them back with wire wool over the past couple of days and will continue to do this until I have a finish I am happy with and all the pores are filled.  I will then drill and fill for the side markers using the same epoxy and install the frets before shaping and carving the back of the neck.

Wednesday 1 January 2014

DLP Les Paul - 2 - Carving The Body

Happy New Year everyone, I have had a few new toys for Christmas including a band saw and a random orbital sander, both of which open up some interesting possibilities for me the first of which  is to have a go at making a carved top on my latest Les Paul project.


I used the band saw to cut out the body from a pine blank I had in the garage for a couple of months now. Then I cut out 7 carving profile templates which I printed onto 4 pieces of paper, taped them together and then cut them out, it took forever!  I then pasted the paper templates to some chipboard.


The band saw is a revelation, It made cutting out the templates so easy and a little fine sanding and they are ready to go. 


Each template represents 1/16" depth difference making a drop of about 1/2" from the centre of the guitar to the edge.


Not the neatest routing I know but nothing the palm sander wont cure.  My router made light work of the steps, It took 3 passes to get the first step routed as that was taking over 1/2" of material away.


I worked one side at a time using the palm sander to gradually smooth out the steps, the palm sander makes the task so easy although I only had 3 sanding pads and they all started to loose their grip and fell off after a while so I finished the final bits off with regular elbow grease!


There is still a lot of work to do with this body, a large piece ripped out and there are a few spots which need filling, but that's to be expected, pine is very soft and the body will be painted completely so any blemishes will be hidden.