My original concept for this guitar was to feature a rather unusual and original pick guard and a P90 pickup in the neck position. I built another Telecaster last year with 2 P90s and the sound that impressed me most was what came out of the neck pickup. With that in mind I made a template but I just don't think the design sits well with the relic body.


I also like the idea of a 5 hole pickguard, like fender originally installed on their earliest Telecasters. So with this in mind I set about creating a bespoke pickguard made from an unused / un-etched copper backed PCB board. I cut out a basic card template and then used my jigsaw to cut out the basic shape before grinding the edges to the template outline on my drum sander attachment.

Once the basic shape was achieved I marked the neck position carefully on the blank and slowly filed away the material testing the fit frequently. I don't want large gaps anywhere, so patience and care was required as I slowly worked towards a nice snug fit.

Once the neck slot was finished I was able to position the control panel and mark it ready to cut it's slot and once again I want the fit to be perfect. Again patience and care was needed to ensure a perfect fit.
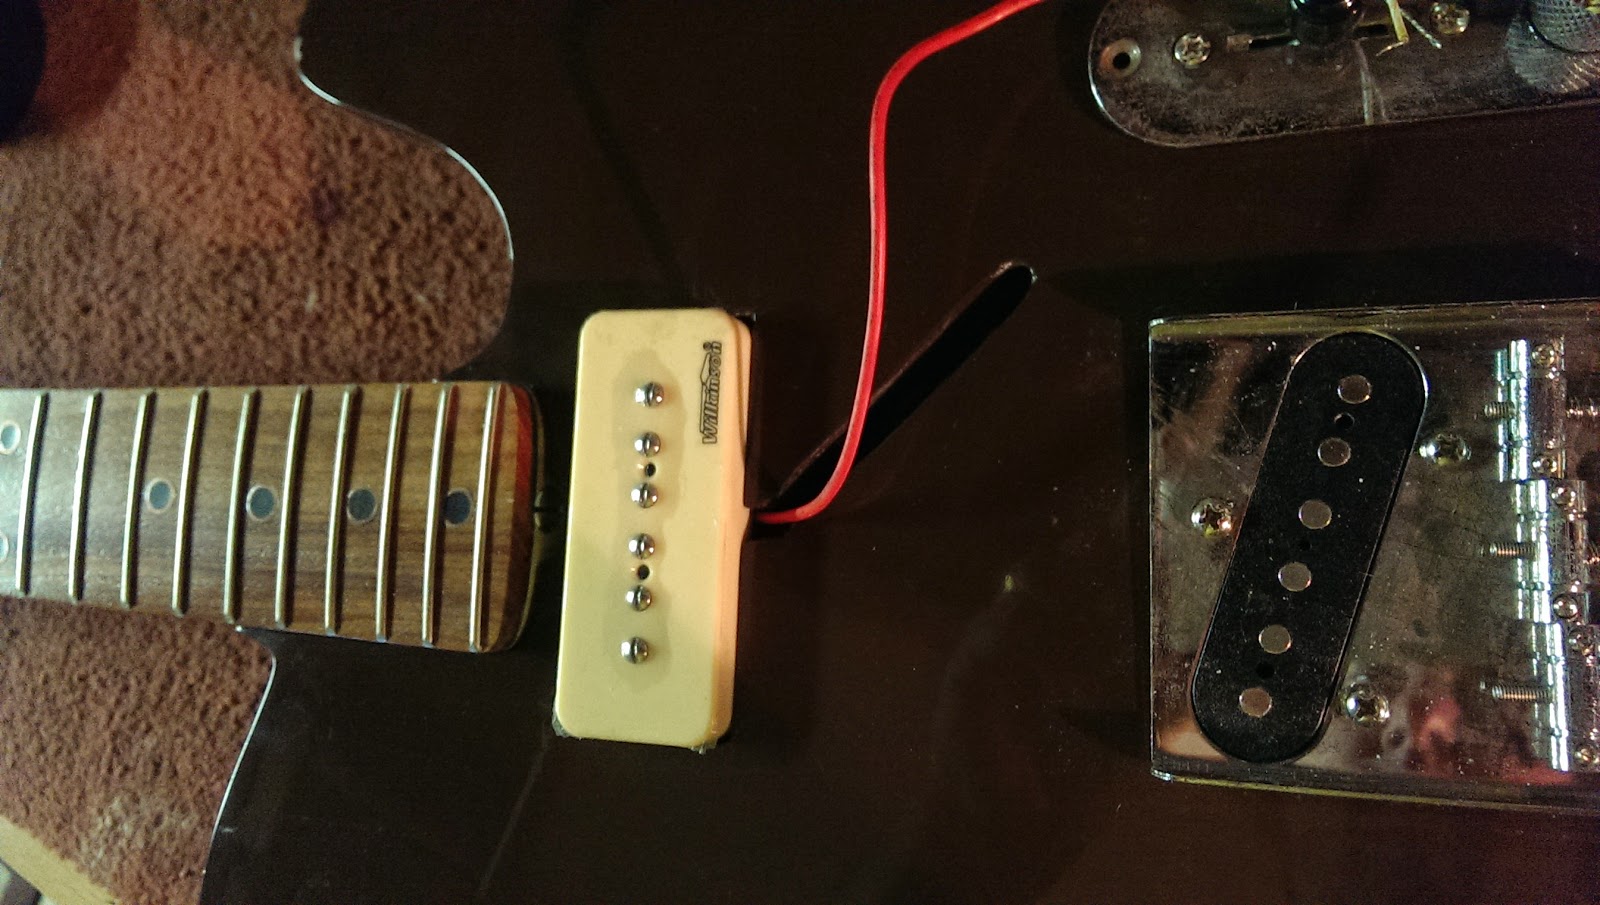
Next I cut the P90 pickup hole, I pondered how I was going to achieve a perfect fit knowing the routing for the pickup slot is already tight and there is not much room for adjustment. So the position of the hole in the pickguard has to be perfect. My solution was to put 4 pieces of masking tape across the guitar, the edges of the tape ran level with 4 sides the cavity so that when I put the pick guard on top of the guitar again I was able to mark the position of the tape and where the lines intersected marked the exact position of the cavity below.

I carefully used my jigsaw to cut the cavity out leaving plenty of the line to allow me to file the rest of the material away testing the fit as I went along. After quite some time I was happy with the fit and I dropped the pickup into its cavity and fitted the pickguard and everything lined up perfectly.

Finally I filed away an section to accommodate the bridge and drilled and countersunk five holes for the screws. I went over everything with fine wire wool, this brought back some of the shine and removed the tool marks and layout lines, it will age nicely to a dark colour over the coming weeks. I found some pretty old screws which had nicely rusted and aged in my garage and attached the pickguard.

No comments:
Post a Comment